BLOB (Binary Large Objects) is a Microsoft Azure service that stores files. It is used to store and retrieve BLOBs, commonly known as files.
It simplifies the process of uploading, sharing, and managing online files along with off-loading static content from your webserver to reduce the load. You can use Blob for hosting static websites.
In this guide, I will show you the steps to follow in order to create a secured static website using Azure Blob Storage.
1- Create a Microsoft Azure Account
An Azure account can be created by following the steps below:
- In the Microsoft Azure page, click on the Start free button.
- Log in with your credentials if you already have an account. Otherwise, click on the Create one! link.
Note: In this article, we will be using a free plan. But, if you want, you can purchase a paid plan by clicking on the Or buy now button.
2- Create Storage account
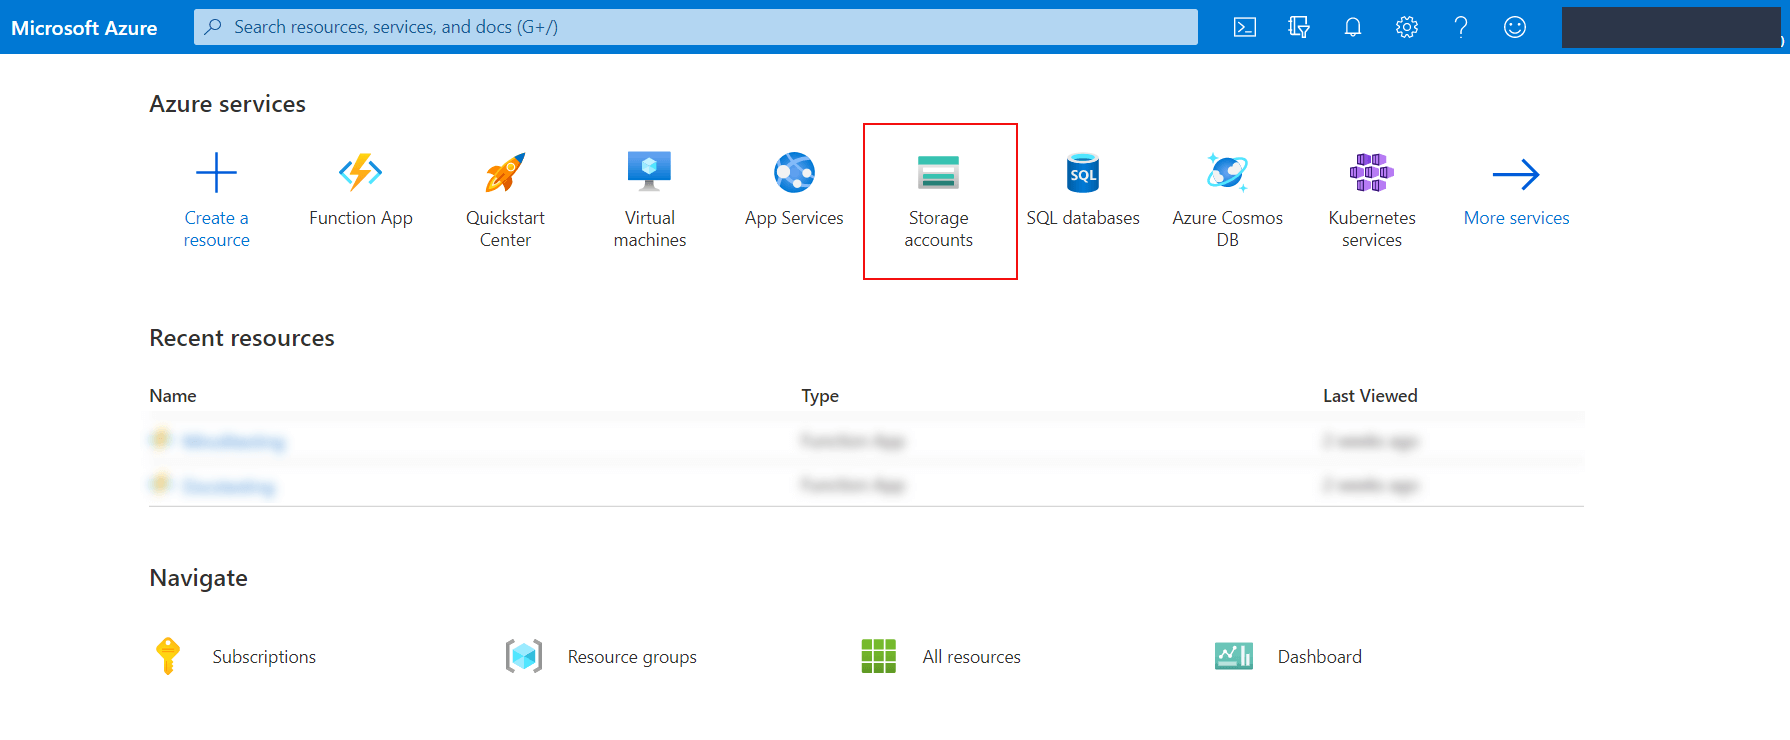
On the Azure Portal page, perform the following steps to create a storage account:
- Click on Storage accounts.
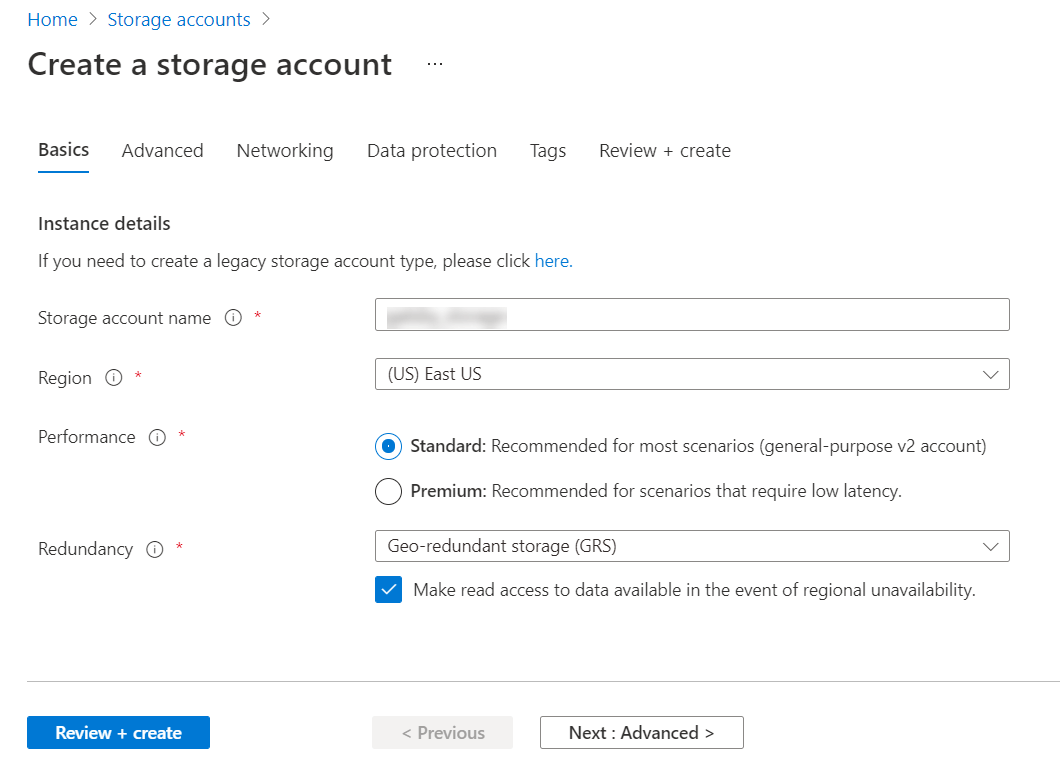
- Click on + Create.
- Provide all the mandatory details.
- Click on Review + create and then click on Create.
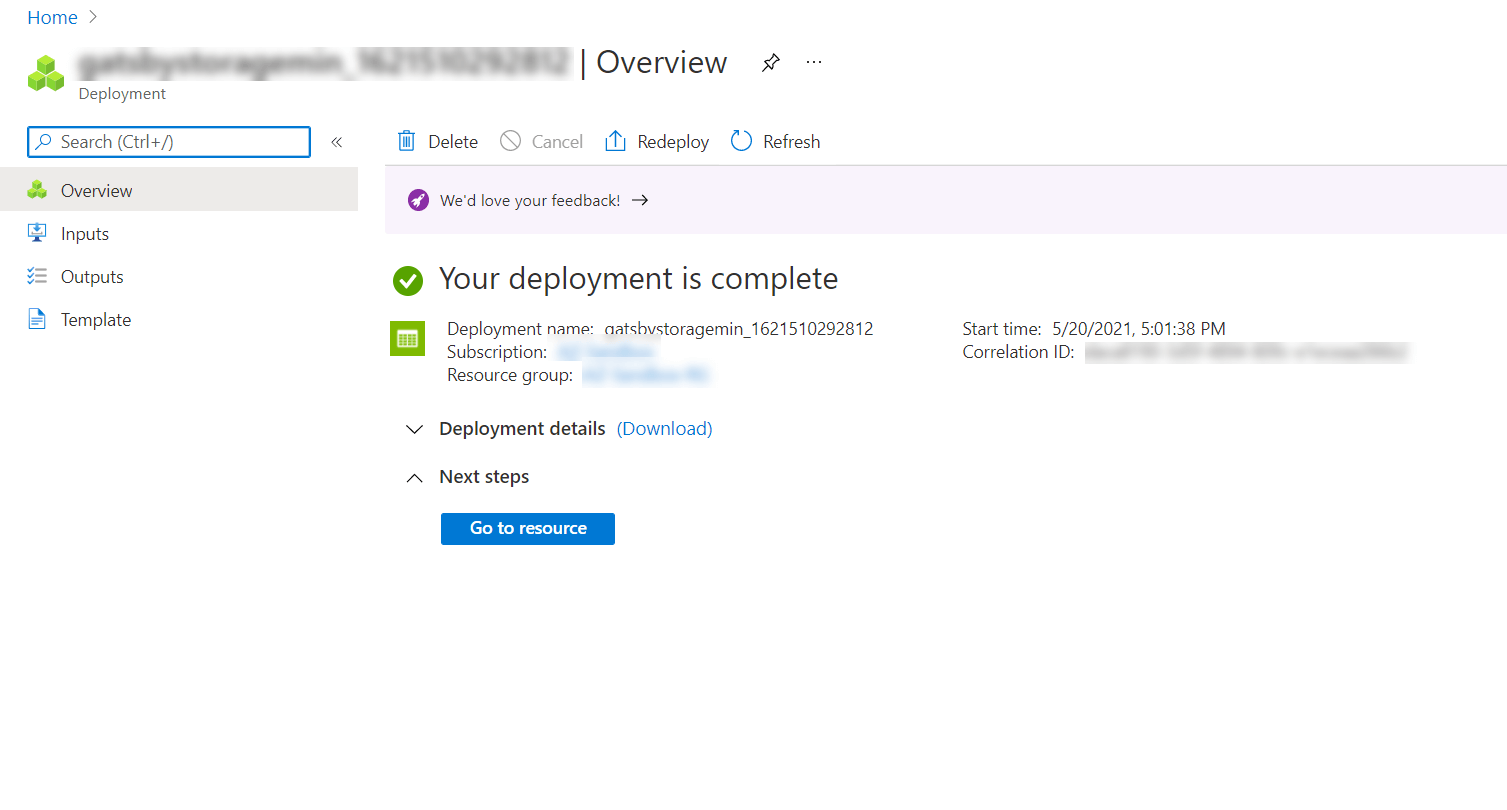
- Once the deployment process completed, click on the Go to resource button to visit the recently-created storage account’s page.
- On the left navigation panel, click on Static website inside the Data management section.
- Enable the Static website option + Enter the name of the index document and the path of error document (e.g: index.html and 404.html) + And Save.
- After saving, you’ll get two links: Primary endpoint and Secondary endpoint.
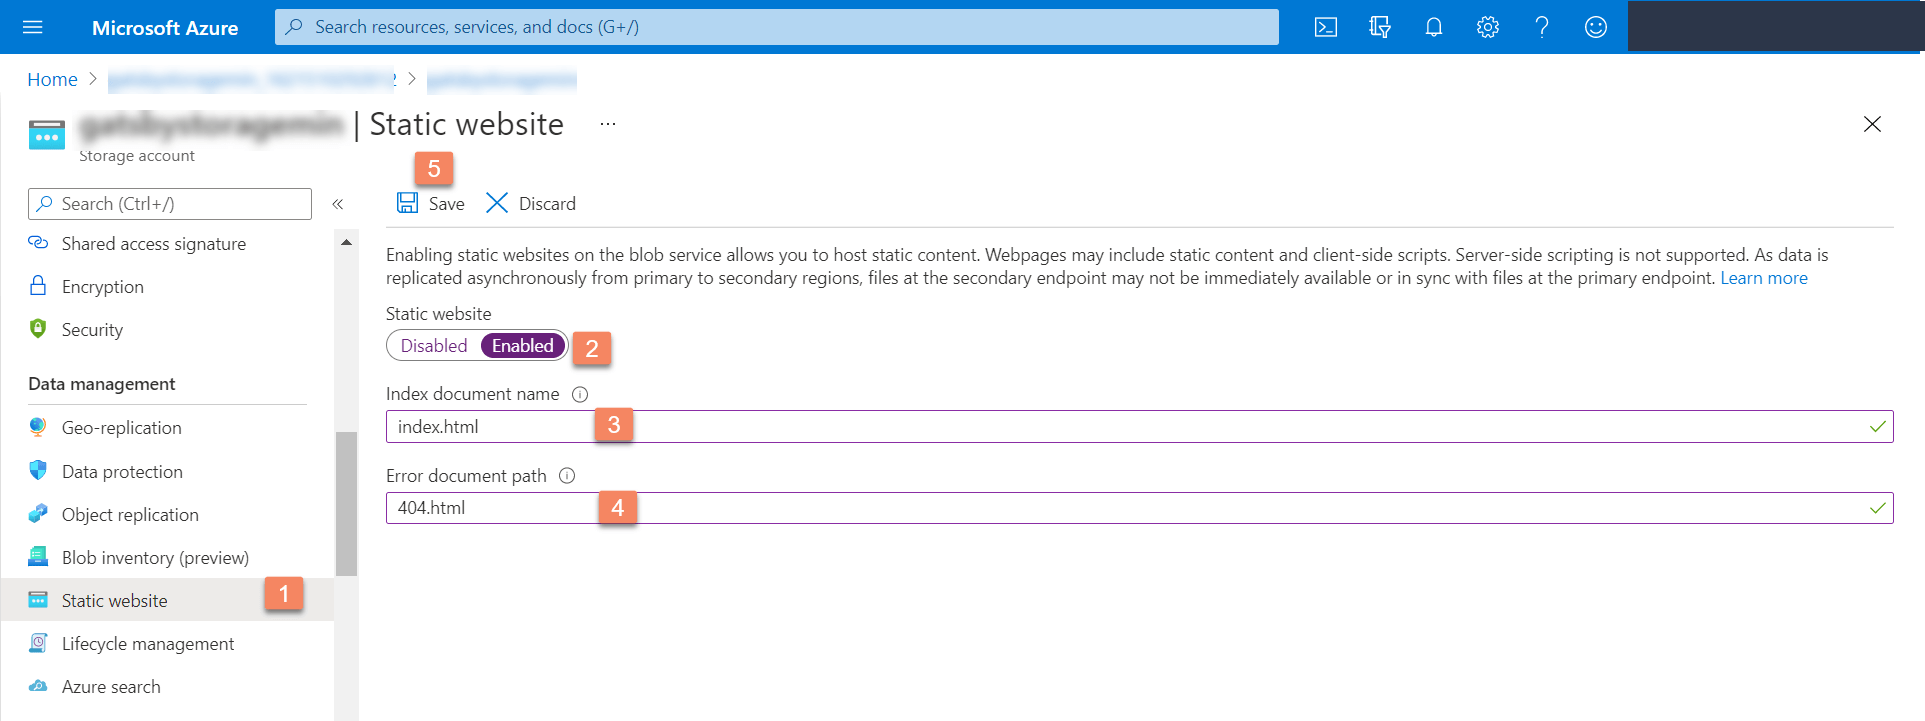
Note: Note down the Primary endpoint as we will be hosting the website on this endpoint.
3- Upload files
- In the storage account you created previously, select Containers in the left navigation pane to display the list of containers.
- In the Containers pane, select the $web container to open the container's Overview pane.
- In the Overview pane, select the Upload icon to open the Upload blob pane and select the Files field within the Upload blob pane to open the file browser.
- Navigate to the file you want to upload, select it, and then select Open to populate the Files field. Optionally, select the Overwrite if files already exist checkbox.


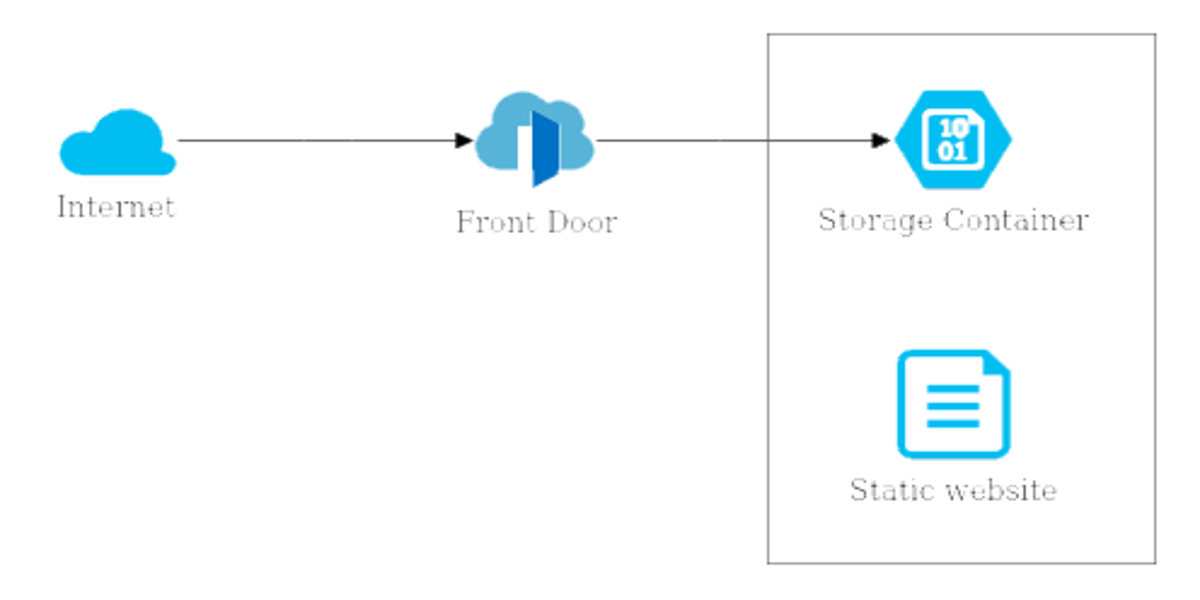
4- Enable Azure CDN for your static website
- Access to your storage account's overview page.
- Under the Security + Networking menu, select Azure CDN to open the Azure CDN page.
- Create a CDN profile by filling all mandatory fields and clicking on Create. Here is an example of endpoint configuration:
- To verify that the CDN endpoint is configured correctly, click on the endpoint to navigate to its settings. From the CDN overview for your storage account, locate the endpoint hostname, and navigate to the endpoint, as shown in the image below.
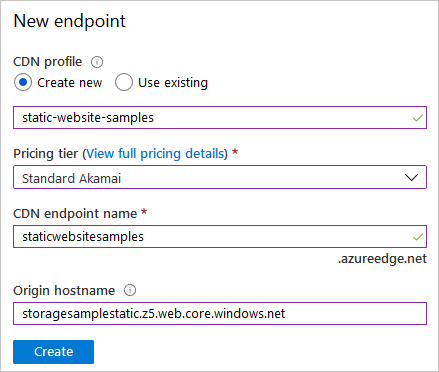
Note: in origin hostname field, specify the Primary endpoint we noted during the creation of the Storage account.
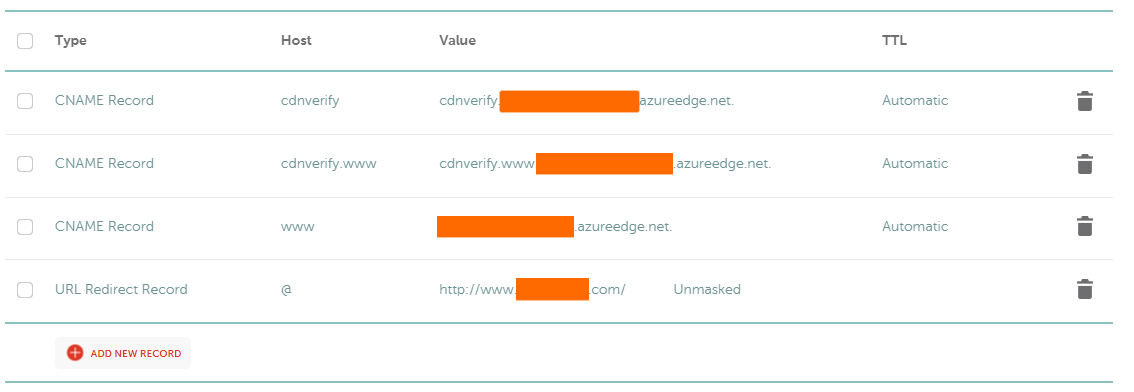
5- Create a CNAME DNS record
Before you can use a custom domain with an Azure CDN endpoint, you must first create a canonical name (CNAME) record with Azure DNS or your DNS provider to point to your CDN endpoint.
6- Add a custom domain to your CDN endpoint
- Browse to the CDN profile containing the endpoint that you want to map to a custom domain.
- On the CDN profile page, select the CDN endpoint to add the custom domain.
- Select + Custom domain.
- Add custom domain button.
- In Add a custom domain, Endpoint hostname, is pre-filled and is derived from your CDN endpoint URL: 'endpoint-hostname'.azureedge.net. It cannot be changed.
- For Custom hostname, enter your custom domain, including the subdomain, to use as the source domain of your CNAME record. And Click on Add

Azure verifies that the CNAME record exists for the custom domain name you entered. If the CNAME is correct, your custom domain will be validated. It can take some time for the new custom domain settings to propagate to all CDN edge nodes.
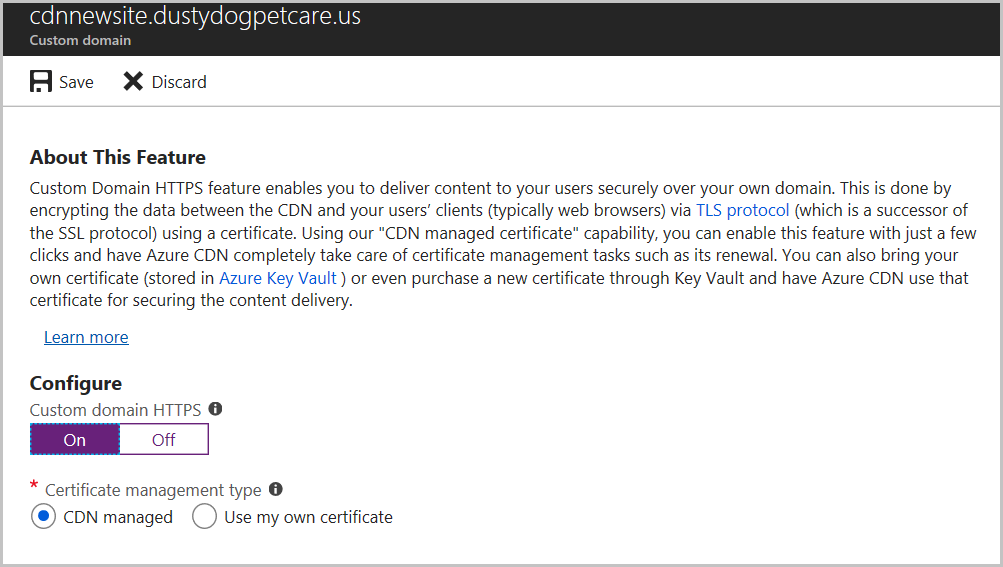
7- Enable HTTPS
- Browse to the CDN profile select the endpoint containing your custom domain.
- In the list of custom domains, select the custom domain for which you want to enable HTTPS.
- Under Certificate management type, select CDN managed.
- Select On to enable HTTPS. And continue to validate the domain.